If you are reading this you have probably been tasked to take over the Pigeon Tower Timelapse duty. The task consists of 2 parts, to be done daily for best results.
PART 1- The Pigeon Tower Round
The first part is the round of the towers, where you take a walk around the biotoop and take a picture of each tower. This part takes around 15min and is best done just before 12pm. Cloudy weather is best as direct sunlight creates sharp shadows that distort the colours and are hard to get rid of in editing.
What you will need:
- Camera Sony Alpha 7 + Leica Summimicron-M 1:2/50 lens + tripod (the heavy grey old-fashioned one)
- Acetate Slide, fixed onto camera display.
This slide definitely has space to be improved if you have the time. The marker comes off easily and is quite thick. So a new one made with thinner markers/pens or printed somehow? and maybe laminated? would be easier to use and ultimately save time in post production.
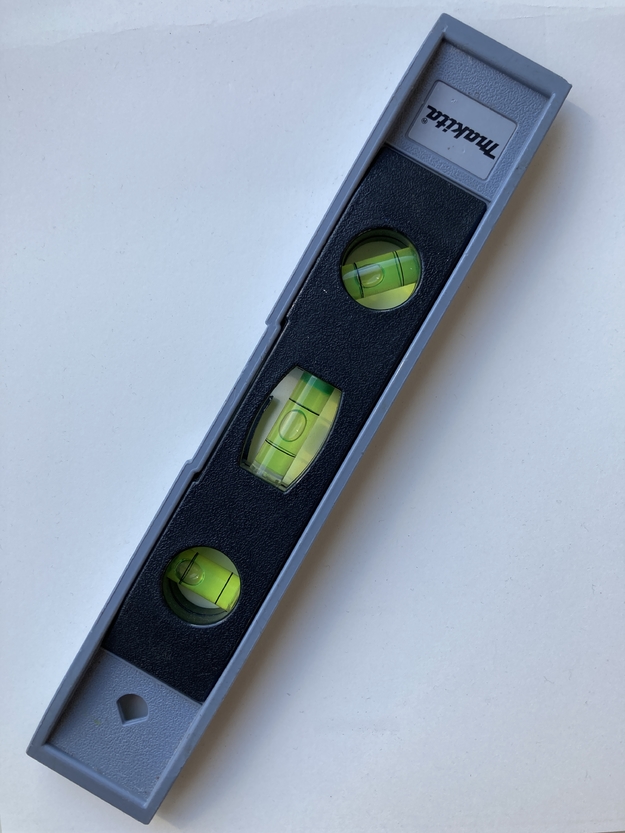
- Small Level
What to do:
1- Once arrived in front of the tower (any tower):check the ground to find 3 evenly spaced nails in the shape of a triangle. This is where you will place the feet of the tripod. Make sure to have the tripod centred at "0°" & facing away from the tower.
2- Make sure the height of the tripod is correct, 29 notches from the top (there is a light mark in pencil)
3- Use the level to adjust the camera angle so that it is parallel to the ground (remember to adjust this for each tower, it will save you time in editing)
4- Check that the camera settings are correct: aperture priority mode, aperture set at f2, RAW image format selected
5- Look through the acetate slide to adjust the position of the camera, making sure all the reference points coincide with the lines on the slide
6- Take the picture! & move to the next tower.
PART 2- Post Production
After all the pictures have been taken you can advance to part 2 of the task. It is good practice to add each of them to their ongoing timelapse file straight away, this is to avoid building up the images onto the SD card and loosing track.
What you will need:
- SD card with the tower pictures
- A computer with Affinity Photo/Adobe Lightroom
- Access to the Tower Reference images (one foreach tower) + the ongoing Keynote(?) timelapse files for each tower, which you can find in the "Pigeon Tower Timelapse" folder in the shared google drive
(or here: https://drive.google.com/drive/folders/1a70pWn4zg0YL6Zc7osYRfHegcGiyGawr?usp=sharing )
What to do:
1- Move the images from the SD card onto a computer and use Affinity Photo to edit them if they need it: make sure the image is properly exposed/white balanced and there are no harsh shadows etc.
2- Use Affinity Photo to match up each of your tower images to their respective Tower Reference image (a digital, more accurate version of the acetate slide) to make sure they are as properly positioned as possible, this will really affect the final appearance of the timelapse!
3- Crop the image to the size given by the Tower Reference image
4- Add the final images to their respective keynote tower timelapse file and you are done!


